How to Compress a PDF Without Losing Quality
Why PDFs get large and how to shrink them for email and upload limits while keeping text sharp: what to compress, which settings to pick and what to avoid.
 By Avinash KoriPublished 6 min read
On this page
You need to email a PDF, and it's 38 MB. Or a job portal rejects your CV because the limit is 2 MB. The usual advice is "run it through a compressor", but many compressors simply turn every page into a blurry picture: the file shrinks, and the text becomes fuzzy and impossible to select or search.
You can usually do much better. Most of a large PDF's weight sits in one place, and once you know where, you can shrink it hard while the text stays exactly as sharp as before. This guide explains what makes PDFs big, what "without losing quality" can realistically mean, and how to pick the right settings.
What actually makes a PDF large
A PDF page is not a picture. It's a list of drawing instructions: "draw these characters in this font at this position", "draw this line", "place this image here". Each kind of content has a very different cost:
- Text is stored as character codes plus the font that draws them. A full page of text is often only a few kilobytes. Fonts are usually embedded as a subset (only the characters actually used), which keeps them small too.
- Vector graphics such as charts, logos and diagrams are compact mathematical shapes. They stay sharp at any zoom and rarely weigh much.
- Images are grids of pixels. A single photo straight from a phone camera can be 3 to 8 MB, and a PDF exported from a slide deck may contain dozens of them.
- Scanned documents are nothing but images: every page is one photo of paper, even when it looks like text.
So when a PDF is unexpectedly large, the answer is almost always images: photos pasted into a report at full camera resolution, high-resolution slide backgrounds, or a scanner set to colour at 600 dpi. Other bloat exists, such as duplicate copies of the same image after several files were merged, or hidden editing data that design programs leave behind, but it's rarely the main problem.
What "without losing quality" really means
There are two kinds of compression, and it helps to be clear about which one you are getting.
Lossless compression rewrites the file more efficiently without changing a single pixel or character. It removes unused objects, packs the file's internal structure tightly and drops metadata. Nothing visible changes, but the savings are usually modest, often a few percent and sometimes more for files written by simple PDF generators.
Lossy compression re-encodes images with fewer details, and this is where the big savings are. It has two dials:
- Resolution. How many pixels an image keeps. A photo printed 15 cm wide needs about 1,800 pixels across at 300 pixels per inch for print, but only around 900 for comfortable reading on a screen at 150 per inch. Anything beyond what the page needs is invisible weight.
- JPEG quality. How much detail the encoder keeps in each block of pixels. For photos, quality settings around 70 to 85 are hard to tell apart from the original at normal viewing size, while the file can be a fraction of the size.
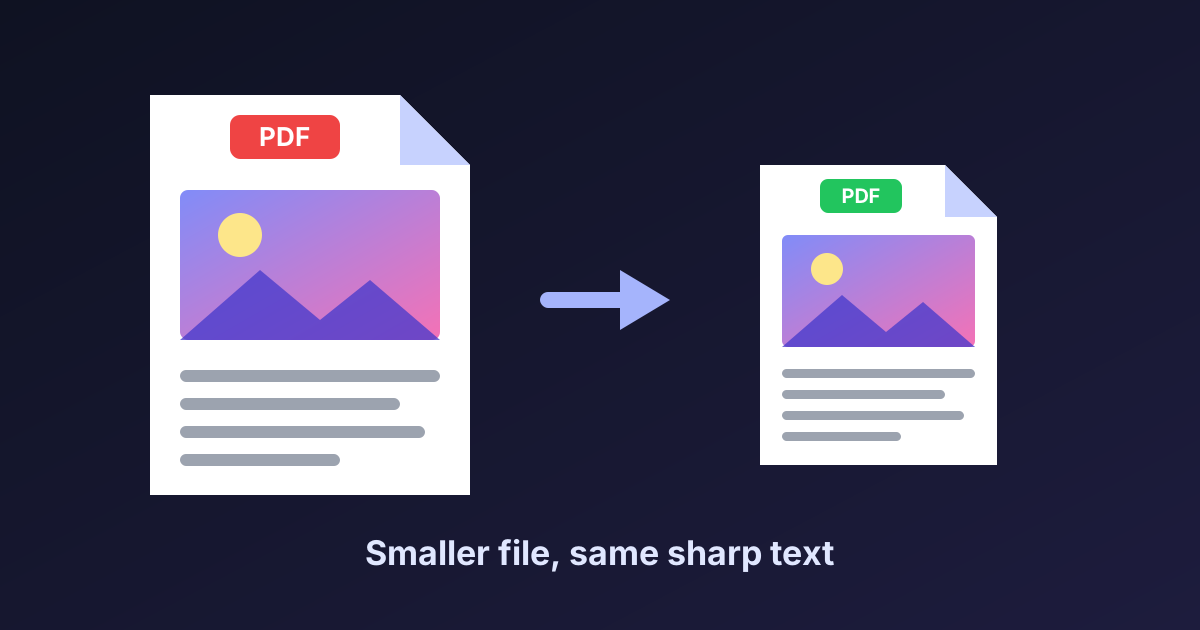
The key insight: you can apply lossy compression only to the images and leave text and vector graphics untouched. Then "without losing quality" is true where it matters most. Every letter stays as crisp as the original, remains selectable and searchable, and only photos change, at a level you would struggle to notice.
What you should avoid for normal documents is rasterising: turning whole pages into images. That's what produces blurry text, and it often makes text-heavy files larger, not smaller.
Choosing the right compression level
The Compress PDF tool on Devtoolry offers four levels, and they map directly to the ideas above:
| Level | What it does | Use it for |
|---|---|---|
| Lossless | Rewrites the file, drops unused data and metadata | Files that must not change visually at all |
| Recommended | Re-encodes JPEG photos at quality 70, up to 2,000 px | Most reports, brochures and slide exports |
| Strong | Re-encodes photos at quality 50, up to 1,300 px | Tight upload limits, email |
| Maximum | Redraws every page as a 110 dpi image | Scanned documents only |
Recommended and Strong only touch embedded photos stored as JPEG, which covers most photographic content in PDFs. Text, fonts, vector graphics and links stay exactly as they were. If the result would not be smaller than your original, the tool tells you and you keep the original.
Everything happens in your browser. The file is never uploaded, which matters when the PDF is a contract, a payslip or a scan of your passport.
Step by step
- Open Compress PDF and drop your file onto the upload box.
- Leave the level on Recommended and click Compress PDF.
- Compare the before and after sizes. Zoom into a photo in the result to check it still looks right for your purpose.
- If the file is still too large, try Strong. For a scanned document, try Maximum.
- Download the result, and keep the original for printing and archiving.
If even Strong is not small enough, the document may simply contain too many pages for the limit. Use Split PDF to send it in parts, or extract only the pages the recipient actually needs.
Size limits you are likely to hit
Different services set different limits, so it's worth knowing the common ones:
- Gmail accepts attachments up to 25 MB in total per message; larger files are offered as a Google Drive link instead.
- Outlook.com allows attachments up to 20 MB; larger files go through OneDrive.
- Job portals, government forms and university systems often cap uploads at a few megabytes, sometimes as low as 1 or 2 MB per file.
Aim a little below the limit. Email attachments are encoded in Base64 for sending, which makes them roughly a third larger in transit, so a 24 MB file can fail a 25 MB limit.
Mistakes that ruin quality
Compressing again and again. Each lossy pass re-encodes the photos and adds a little more blur and blockiness. Always compress once, from the original, at the level you need.
Using a rasterising compressor on a text document. If your compressor turns pages into pictures, text loses its sharp edges, copy and paste stops working, and screen readers can no longer read the document. For anything that is mostly text, use a level that keeps the text.
Printing to PDF to make it smaller. "Print to PDF" re-creates the document through the print system. Depending on the printer driver, it can flatten transparency, rasterise parts of pages or lose links and bookmarks.
Deleting the original. Keep the full-quality file. The compressed copy is for sending; the original is for printing and future edits.
Make PDFs smaller from the start
The best compression happens before the PDF exists:
- Resize photos before adding them. If you build a PDF from photos with JPG & PNG to PDF, first shrink them with the Image Compressor. A 4,000-pixel phone photo rarely needs more than 1,500 to 2,000 pixels on a page.
- Use your office app's export setting. In Microsoft Word on Windows, Save As PDF has an Optimize for: Minimum size (publishing online) option that lowers image resolution.
- Scan at sensible settings. For text documents, 200 to 300 dpi in greyscale or black and white is plenty; colour at 600 dpi makes files many times larger without making them more readable.
Compressing PDFs on the command line
If you process many files on a server or in a script, Ghostscript can do image downsampling from the command line. Its -dPDFSETTINGS presets choose the target image resolution: /screen (72 dpi), /ebook (150 dpi), /printer and /prepress (300 dpi).
gs -sDEVICE=pdfwrite -dCompatibilityLevel=1.6 -dPDFSETTINGS=/ebook \
   -dNOPAUSE -dQUIET -dBATCH -sOutputFile=report-small.pdf report.pdf
In a test with a four-page PDF of 3000 × 2000 pixel photos, this turned a 5.1 MB file into 0.85 MB. Ghostscript rewrites the whole document, so check the result's fonts, links and form fields before replacing the original.
For one-off files, the browser tool is quicker and keeps your document on your own device. Try it on the PDF that is giving you trouble, and see how much you can save while the text stays sharp.

Written by
Avinash Kori
Founder of Devtoolry
Avinash builds Devtoolry, a set of free developer tools that run entirely in the browser, and writes practical guides on the formats, encodings and techniques behind them.
Try it yourself
The free tools used in this article. They run in your browser, so nothing you paste is uploaded.
Compress PDF
Compress PDF files online to reduce their size for email and uploads. Photos are re-compressed while text stays sharp and selectable. No upload needed.
Split PDF
Split a PDF online into single pages, every N pages or custom ranges like 1-3, 4-10. Preview pages and download each part or a ZIP, without uploading.
Image Compressor
Compress JPEG, PNG and WebP images online with a quality slider and optional resizing. See the size saved for each file. Images never leave your browser.
JPG & PNG to PDF
Convert JPG, PNG and WebP images to one PDF online. Reorder pages, choose A4, Letter or image size, orientation and margins. Photos stay on your device.